If you are using the same environment for a number of different designs, or will need to import your GDSII design multiple times, the recommended method is to create a template project. A template project allows you to perform the manual mapping setup only once, as well as including information about the materials used in your circuit, the box size, cell size, etc. In other words, any parameter of your circuit which remains consistent may be entered in the template file so when you perform the translation, there is no need to manually enter that data. It allows you to automate as much of the translation as possible.
For our example, you will create a template file which contains the following information:
The tutorial will go through some specific steps in setting up a template file, but in order to save time, you will only partially create the template file, then use a supplied template file to perform the import. If you wish you may skip this section of the tutorial and just use the supplied template file. If you wish to do so, please go to Importing the GDSII File.
When creating a template file, Sonnet can also use a substrate file (*.matl) created by the Cadence Virtuoso Interface or the Keysight ADS Interface. The Interfaces allow you to load Momentum, Assura and Helic technology files and convert them to a Sonnet substrate file. This can substantially reduce your manual input when creating a template.
The actual template file contains 24 dielectric layers, but you will only define the first three during the tutorial. Similarly, you will only define three Technology Layers although the final template contains 13. Partial template files are supplied to expedite the performance of the tutorial.
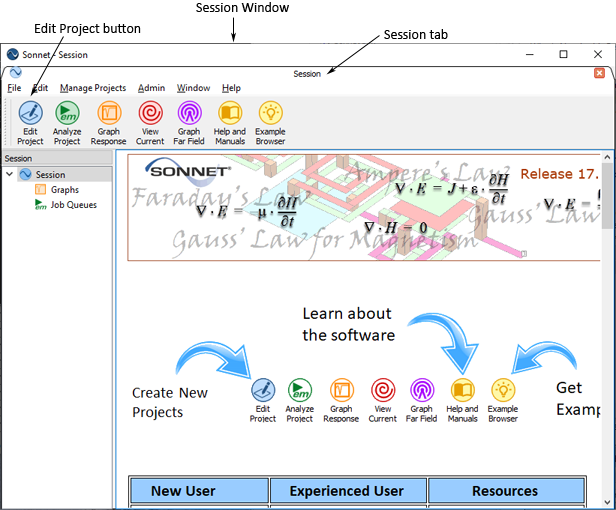
The Sonnet session window appears on your display.

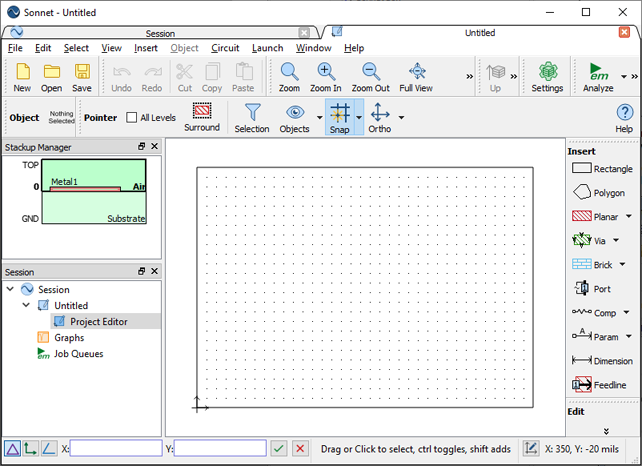
A project editor tab appears in the Sonnet session window with a new blank geometry project displayed with the default two dielectric layers and default metal technology layer.
